Fixing a Dripping Tap: DIY Guide
If you have actually ever managed the nuisance of a dripping tap, you recognize exactly how it can interrupt your tranquility. The continuous drip, drip, drip can be infuriating, as well as the wasted water and boosted costs. But fear not, there’s a way to tackle this problem head-on and restore peace to your home. By adhering to a few straightforward steps, you can end up being the hero of your house and get rid of that pesky leakage for good. So, are you ready to take charge and solution that touch at last?
Key Takeaways
- Recognize tap type for proper repair service: round, cartridge, compression, ceramic disk.
- Collect needed tools like wrench, screwdrivers, washers, and O-rings.
- Turn off water using sink or main shut-off shutoff.
- Take apart tap meticulously after turning off water.
- Evaluate, select proper dimension, and replace used washing machines without delay.
Identifying the Type of Tap
To determine the sort of faucet, start by examining the style and structure of the faucet. Faucet products play a pivotal function in determining the sort of faucet you have. Common tap materials include brass, stainless-steel, and chrome. Each material requires particular upkeep to guarantee the tap works properly. Regular cleaning and staying clear of severe chemicals are vital for keeping the tap’s appearance and performance.
Tap design likewise gives hints about the sort of faucet you are dealing with. Various tap layouts, such as ball faucets, cartridge taps, compression taps, and ceramic disk taps, have distinct performances. Ball taps are usually located in older homes and are well-known by their solitary take care of layout. Cartridge taps utilize a cartridge to control the water flow and temperature level. Compression faucets have separate cold and hot takes care of that requirement to be turned to turn the water on. Ceramic disk taps are contemporary and feature a single bar for both cold and hot water control. Recognizing the faucet’s design and materials is pivotal for effective fixing and maintenance.
Gathering the Essential Tools
Inspect your faucet carefully to determine the specific devices needed for the repair service procedure. When you have actually recognized the kind of faucet, it’s critical to collect the essential tools for an effective repair service. Correct tool company and upkeep are vital for finishing the task successfully. Make certain your devices are in excellent condition, as harmed tools can cause crashes or inadequate repair services. Before utilizing any type of device, see to it you understand its safety guidelines and correct use to avoid injuries.
For fixing a dripping tap, typical tools you might need include an adjustable wrench, screwdrivers, pliers, and a washing machine and O-ring array. These devices will certainly aid you disassemble the faucet, change any kind of damaged components, and rebuild it effectively. Maintain your tools arranged in a toolbox or designated location to easily access them when needed. Routine device maintenance, such as cleansing and lubricating, will lengthen their life expectancy and ensure they perform properly throughout the repair procedure. Bear in mind, security needs to always be a concern when using devices to repair your leaking tap.
Turning off the Water
Ensure the supply of water is entirely shut off before commencing any repair on the dripping faucet. To prevent flooding or unforeseen leaks, locating the shut-off shutoff is crucial. The shut-off shutoff is generally located under the sink for cooking area or bathroom taps. Twist the valve clockwise to turn off the water flow totally.
If the faucet does not have a private shut-off valve, you could need to shut off the main water for your home. The main shut-off valve is typically located near the water meter or where the major water pipe enters your residence. Turn the valve clockwise up until it quits to cut off water to the entire property.
It’s important to confirm that the water is completely shut off by testing the tap. Attempt turning on the faucet to ensure no water is moving. When you’re particular the water system is shut off, you can wage self-confidence to repair the dripping faucet.
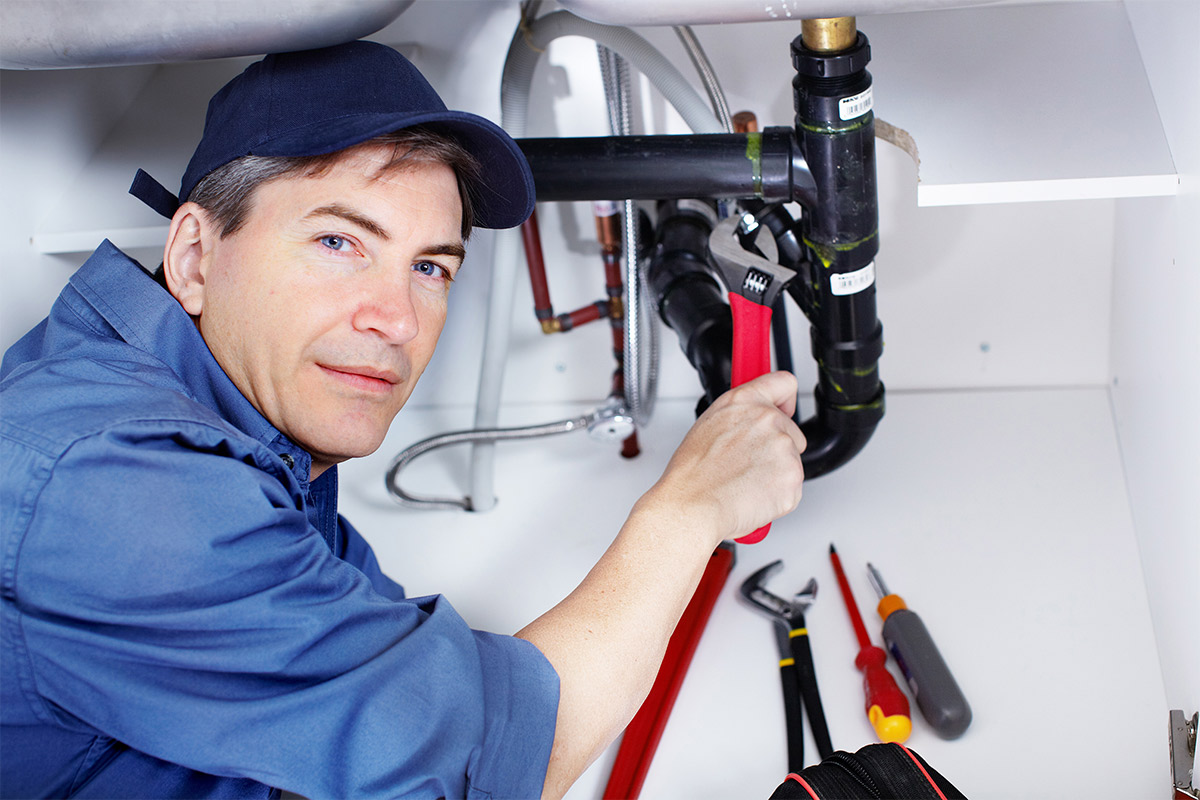
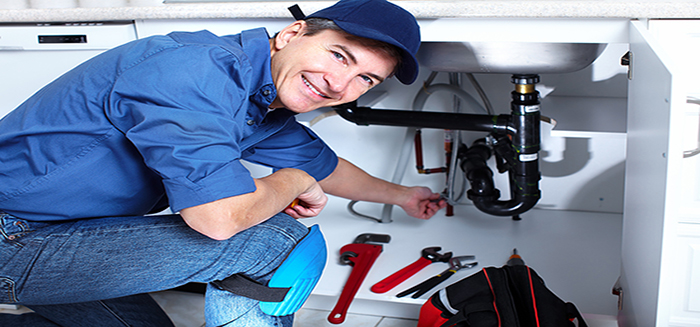
Dismantling the Tap
Before disassembling the tap, make certain that the water is totally shut down to stop any leakages or water damage during the repair work process. To start, you will certainly need a screwdriver to eliminate the screws that hold the faucet handle in place. As soon as the screws are out, gently lift the take care of off to expose the inner components.
Next off, you will see the cartridge or stem setting up inside the tap. Make use of a wrench or pliers to meticulously separate these components from the text of the tap. Beware not to apply way too much force as this could damage the faucet better.
After dividing the elements, position them on a tidy surface area in the order you removed them. This will make it much easier to reassemble the faucet later on. Evaluate the components for any signs of wear or damage, which may suggest the resource of the leak. If you notice any type of broken washers or seals, these will need to be changed in the next actions.
Evaluating and Changing Washers
To establish if the washers are triggering the leak, very carefully examine their condition for any type of indicators of wear or damages. Washers are very important components in a faucet that assist produce a leak-proof seal. They are frequently made from materials like rubber, silicone, or metal. Typical washer dimensions consist of inch, 3/8 inch, and inch, so make sure you have the proper size when changing them.
Inspect the washers for any kind of splits, splits, or deformities that may be causing the leakage. If you observe any kind of signs of wear, it’s necessary to replace them promptly to prevent additional leak. When picking new washers, choose a material that fits your needs and the type of tap you have. Rubber washers are usually utilized for traditional faucets, while silicone washers are extra sturdy and immune to heat. Steel washers are suitable for durable applications. Once you have determined the problem and got the right substitute washing machines, you can continue to reassemble the faucet and examination it for leakages.
Reconstructing the Faucet and Examining
Examining and changing the washing machines has actually provided you understanding into the potential resource of the leakage; now, reassemble the tap and carry out a thorough examination to validate the problem has actually been settled. Begin by carefully positioning the faucet manage back onto the spindle, making certain it fits comfortably. Use a flexible wrench to tighten the deal with, however beware not to overtighten, as this can lead to problem in turning the faucet on and off.
Once the take care of is firmly in place, turn the water back on and gradually open the faucet. Check for any type of indications of leakage around the manage or the spout. If there are no leaks, continue to evaluate the water flow by readjusting the faucet manage to various positions. Validate the water circulation is consistent and that there are no unusual noises originating from the tap.
Frequently Asked Questions
Just How Can I Avoid My Tap From Leaking Again in the Future?
To stop your faucet from dripping again, keep in mind upkeep suggestions like checking for worn washing machines or loosened connections. Typical sources of leakages consist of over-tightening or broken parts. Repairing techniques entail guaranteeing all elements are effectively set up and not harmed. Remain aggressive by performing regular examinations and dealing with issues without delay. Following these avoidance techniques will certainly aid keep your tap leak-free in the future.
Can I Utilize Alternative Materials if I Do Not Have the Suggested Devices?
If you don’t have the recommended devices, you can utilize improvised remedies or clever alternatives. Get innovative and take into consideration short-term repairs to resolve the issue. Believe outside package and come up with some imaginative solutions to deal with the issue at hand. It’s everything about being resourceful and searching for ways to make it work until you can access the correct devices or materials.
Is It Necessary to Turn off the Water Supply for All Kinds Of Taps?
Yes, it is very important to turn off the water for all sorts of taps. This action is vital for water conservation and preventing potential risks. In emergency situation situations, shutting off the water can assist avoid flooding and damages. a plumber Bear in mind, safety and security precautions like this are straightforward yet reliable in maintaining your home. Take the extra moment to shut off the water it’s a little activity that can stop substantial issues in the future.
How Do I Know if the Tap Issue Calls For Professional Assistance?
If you’re uncertain whether to take care of a faucet concern do it yourself or call a professional, consider a couple of fixing pointers. Start by checking if the issue seems easy, like a loose or used washer. If you fit with standard devices and tasks, you may be able to repair it yourself. Nonetheless, if the issue is complex, entailing customized components or devices, it’s best to look for specialist assistance to see to it the task is done properly.
What Should I Do if the Faucet Continues to Drip After Repair service?
If the tap keeps leaking post-repair, try various sealing strategies or fix for underlying concerns. Think about momentary repairs while you resolve the source. Avoid usual errors like overtightening or using incorrect parts. Experiment with various methods till you find the one that functions. Bear in mind, perseverance and perseverance are key when managing consistent leakages.